Today, we’ll run through a hand lettering tutorial and the steps we take here at Magnetic to create custom hand-lettered designs. If you’re new to hand-lettering, this is a great place to get started.
There are several different styles of lettering, but today, we’ll focus on Monoline Cursive Lettering – a simple approach that consists of only a single weight. Let’s get to it.
In this tutorial, you’ll learn about:
- Our favorite hand-lettering tools
- Creative brainstorming / ideation techniques
- Refining an initial sketch
- Setting up an artboard
- Using Photoshop to make your designs really pop
Getting Started: Monoline Hand Lettering Tools of the Trade
First things first, the tools. For our initial sketches, all we’ll need is a pencil and paper. Then, once we’ve landed on a sketch we love, we’ll hop into Adobe Illustrator to begin the vector process.
If you don’t have Adobe installed, you can grab a free trial of the Adobe Creative Suite here.
Finding Inspiration for Your Hand Lettering
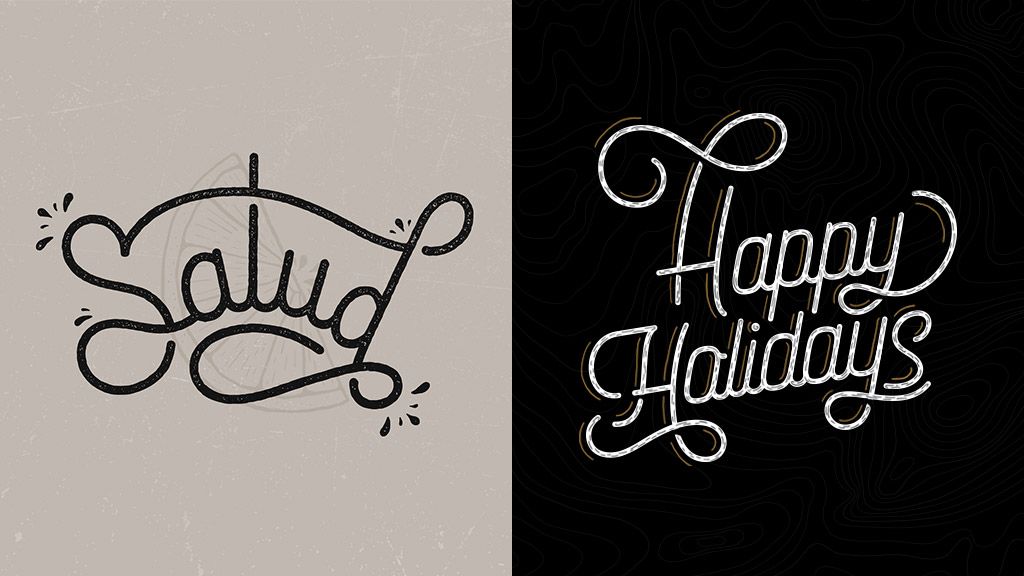
Before we begin our initial lettering sketch, we’ll need to decide on a word or phrase to sketch out. A few phrases you may consider exploring are Thank You or Happy Holidays.
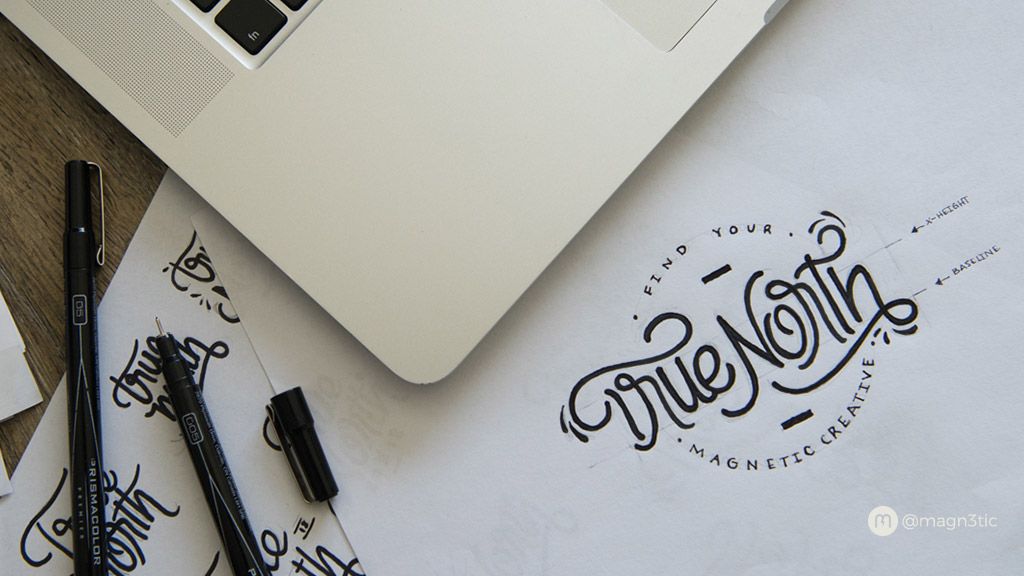
 But for all intents and purposes of this blog, we’ll run with one that we’re rather fond of, True North.
Pro Tip:
Search Google, Dribbble and Pinterest for some inspiration and see what others have done (for this lettering style, search for “monoline cursive lettering”).
Step 1: Initial Letter Sketches
Once you’ve chosen your word or phrase to letter, we’ll whip out our pencil and paper to begin sketching out some ideas. For this step, don’t try to make things look too perfect. The purpose of these initial sketches is merely to get your ideas down on paper, so go crazy and fill every inch of your paper with ideas.
Explore different variations. Keep that pencil moving. There are no wrong answers here.
![]() What we usually do after sketching out ideas is step away from the project and come back to it at a later time. Whether it’s 5 minutes, 5 hours, or 5 days, time away helps us clear our mind and return to the project with a fresh perspective. Also, it never hurts to ask a friend, co-worker, or beloved pet for feedback.
What we usually do after sketching out ideas is step away from the project and come back to it at a later time. Whether it’s 5 minutes, 5 hours, or 5 days, time away helps us clear our mind and return to the project with a fresh perspective. Also, it never hurts to ask a friend, co-worker, or beloved pet for feedback.
Pro Tip:
You can always grab elements or letters from the other sketches and combine it with the sketch you want to refine. Don’t feel confined to just one sketch.
Step 2: Refining Your Sketch With Typography Guidelines
Now that we have our lettering design in a fairly solid spot, it’s time to start refining it.
First, let’s lay down the baseline (where the letters “sit”) and the X-height (the height of a lowercase x). Establishing these parameters is crucial in order to keep all of our letters the same size.
Then continue tweaking your design to get it as close to perfect on paper as possible. Don’t worry if a curve or swoosh isn’t absolutely precise. We can clean those up later in Illustrator using the pen tool. We just need the sketch to be as close as possible to what we want our finalized piece to look like.
 Step 3: Get Digital – Vectorize Your Sketch in Illustrator
Now, the moment we’ve all been waiting for. It’s time to start vectorizing! But before we do, let’s bring up our sketch in Adobe Illustrator. We can do this by either using a scanner or simply taking a picture with your phone. What a time to be alive.
Once we have a snapshot of our sketch, we can fire up Adobe Illustrator. Let’s begin by sizing up the illustrator artboard size to 800x600px. Because we’re working with vectors, we can always scale up or down as needed without losing quality.
Pro Tip:
Name your file sketch, then go to the menu on the top right (see example) and select “Template”. This will automatically lock and lower the opacity for that one layer.
 Next, we’ll create a second layer (keyboard shortcut: ctrl + L for windows and command + L for Mac). This is a good way to keep layers organized. All we need for the monoline lettering is Illustrator’s ever-handy pen tool and a bit of patience (we’ve found practice makes perfect with the pen tool).
Here’s a great video from Chris Do on how to get started using Adobe Illustrator’s pen tool.
![]()
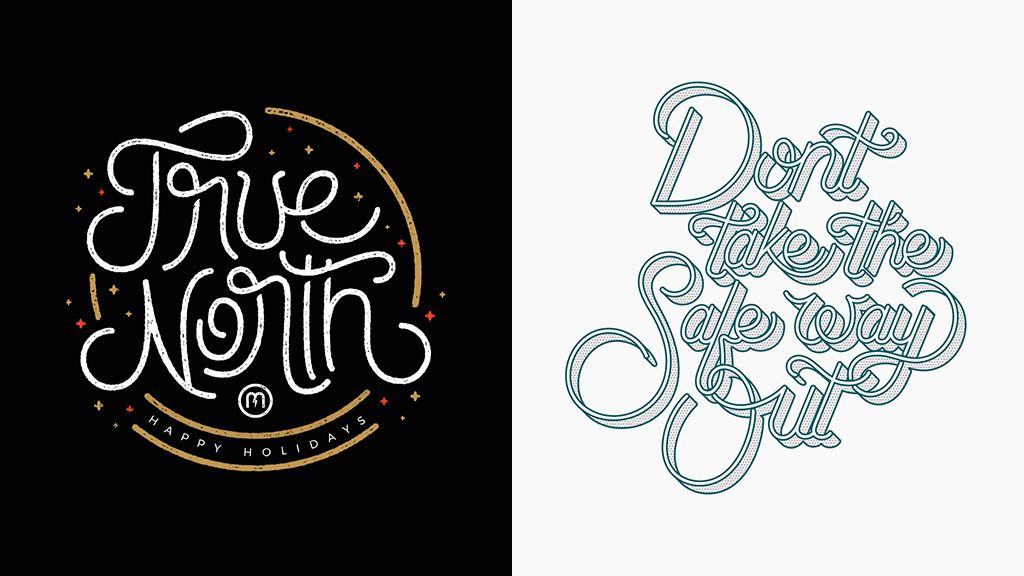
And like magic, here’s our design. At this point with your design, you can either tie a bow on it, or use Photoshop to add some extra flair. If you’re the ambitious type, check out Ian Bernard’s YouTube tutorial on how to easily add textures and background images.
 Wrapping up your monoline hand lettering design
When you’ve finished your hand-lettered design, share it with the world on Instagram, and if you feel so inclined, share it with us here at Magnetic Creative by using #MAGfam. We look forward to seeing your masterpiece!
If you enjoyed this hand lettering tutorial, be sure to check out Senior Graphic Designer and lettering wizard Mani Salazar’s approach to digital lettering on the iPad Pro.
Good luck out there!


Join the Discussion