The world around us is amazing. There’s so much action, so much detail and so much space to be explored. The amount of things you can see, do and experience in a single day can be nothing shy of overwhelming. Then the sun sets. The stars come peeking out one by one and everything slowly changes.
If it’s a clear night and you’re anything like us, your jaw eventually hits the floor in amazement of how much space is out ‘there’ to be explored. Ryan Moss, a master at capturing images from around the world, shares his best night sky photography tips so you too can capture magical midnight moments like a pro.
How To Shoot Night Sky Photography like a Pro
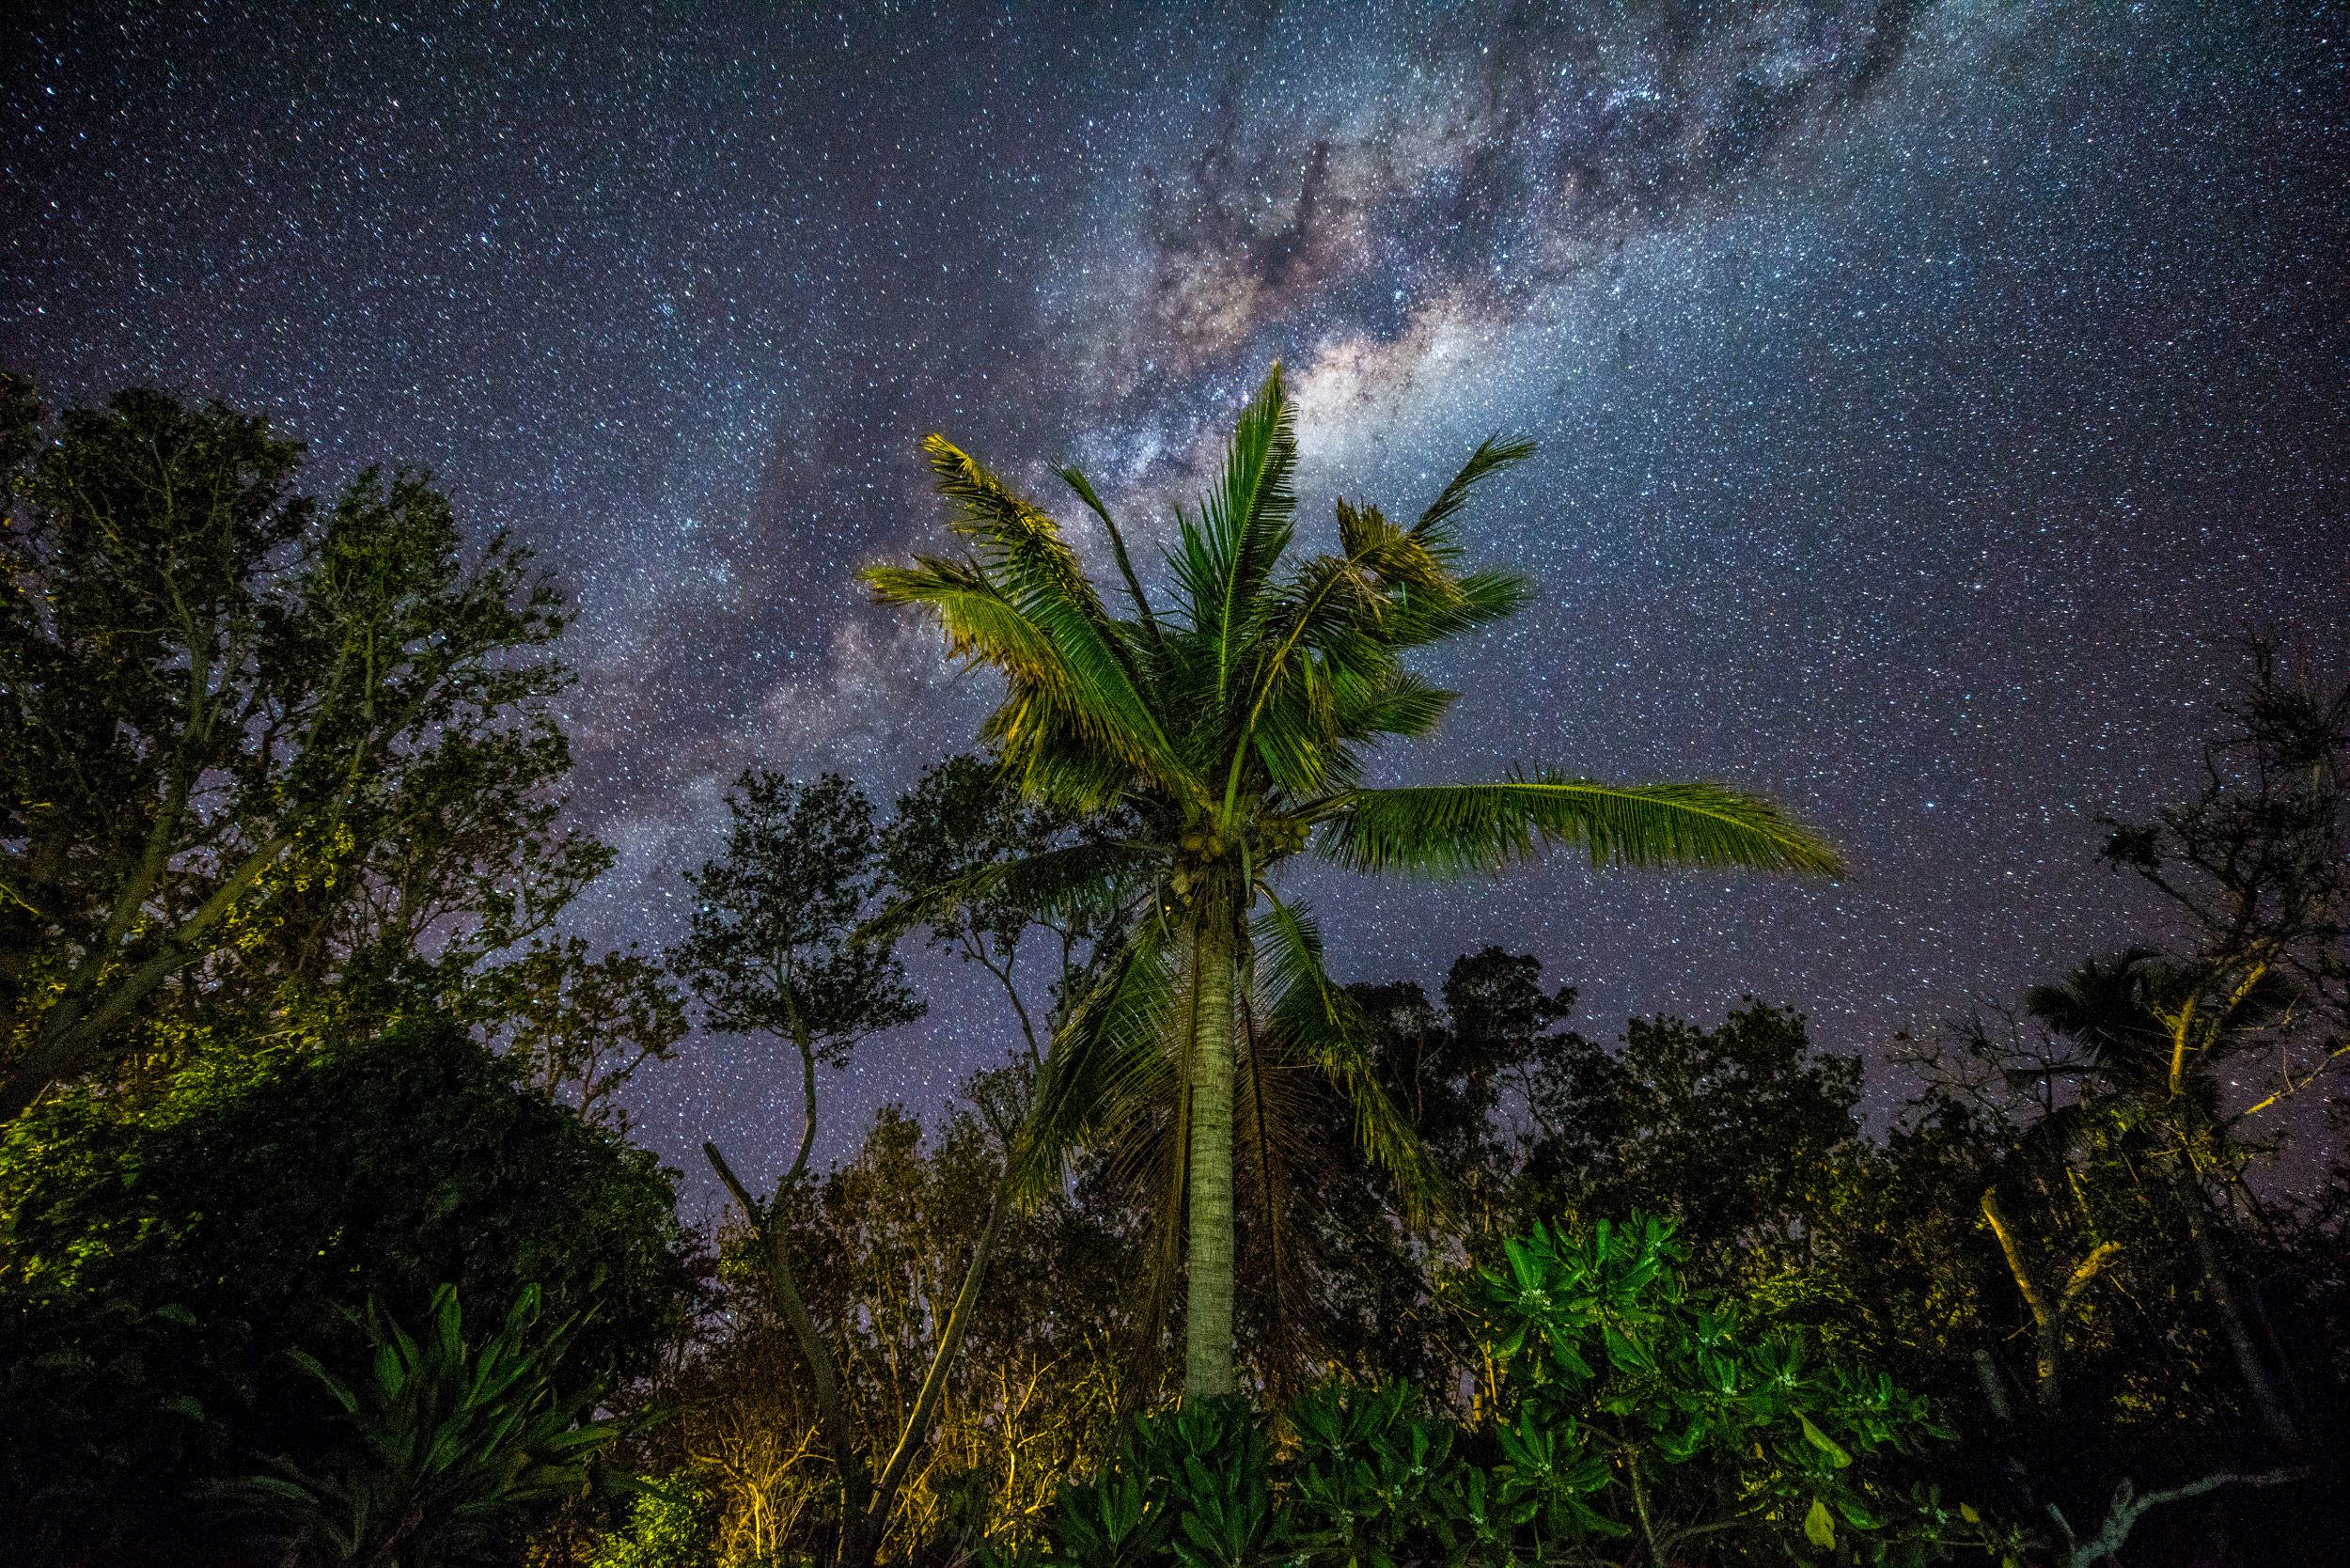
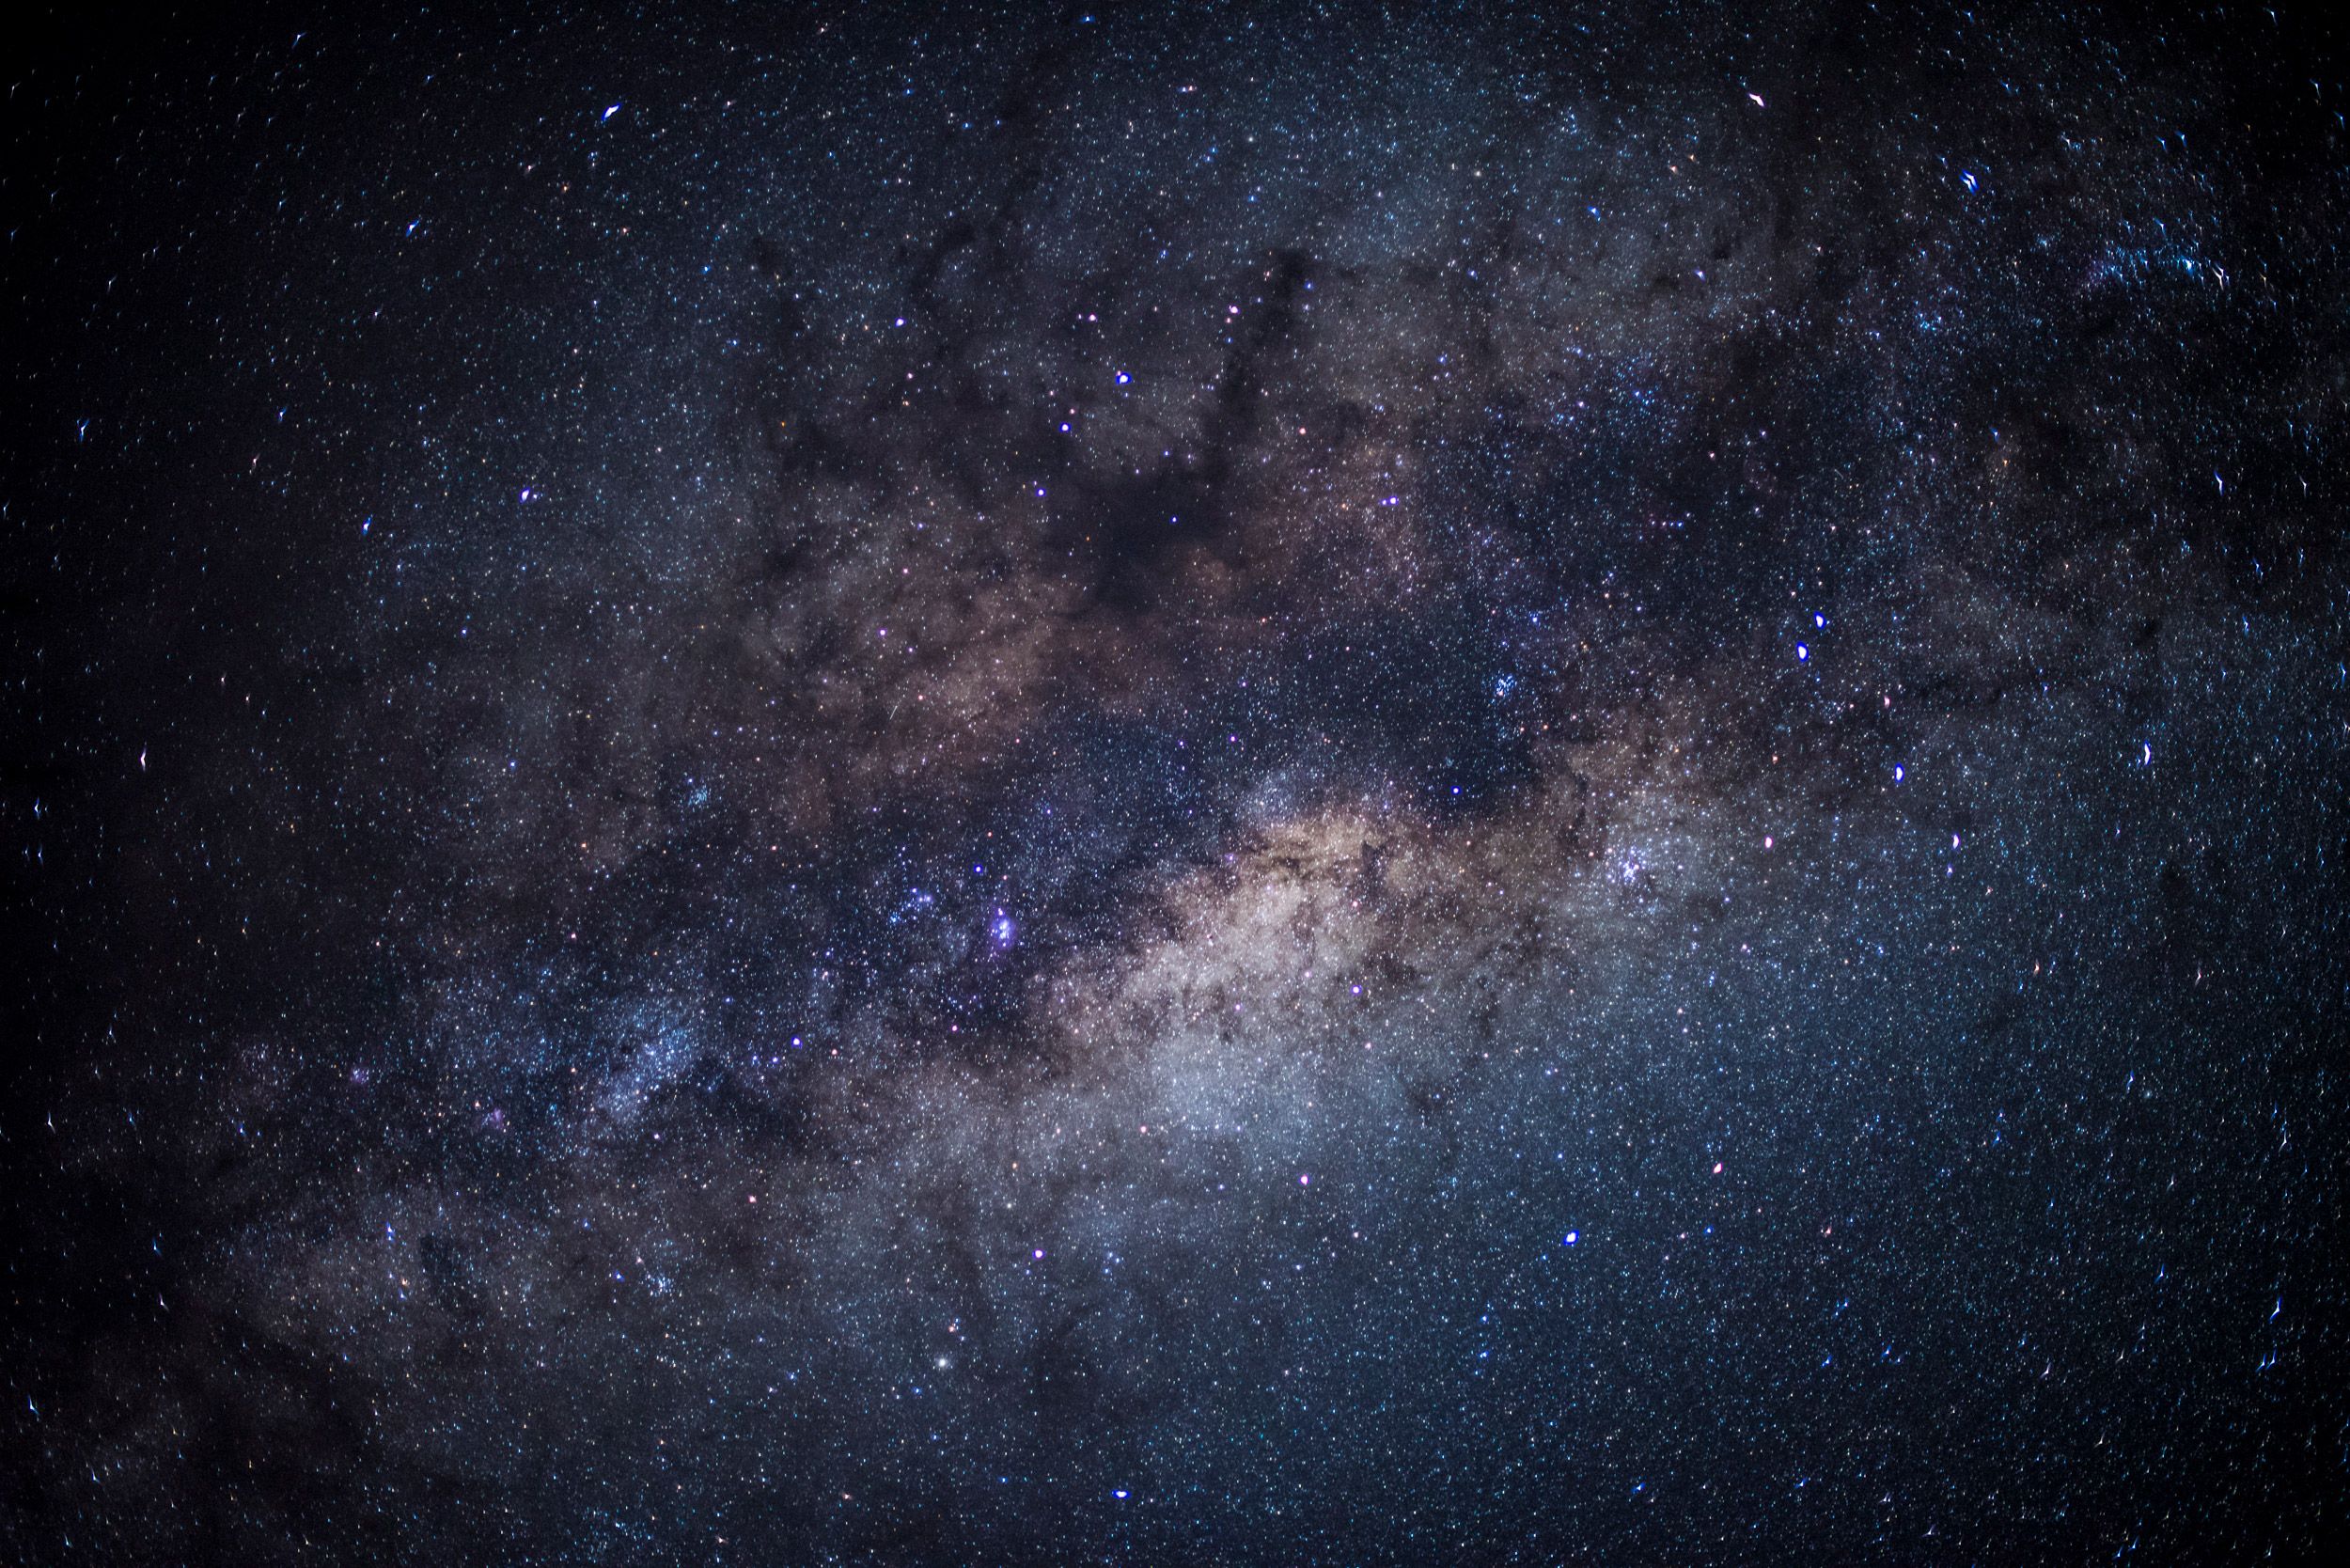
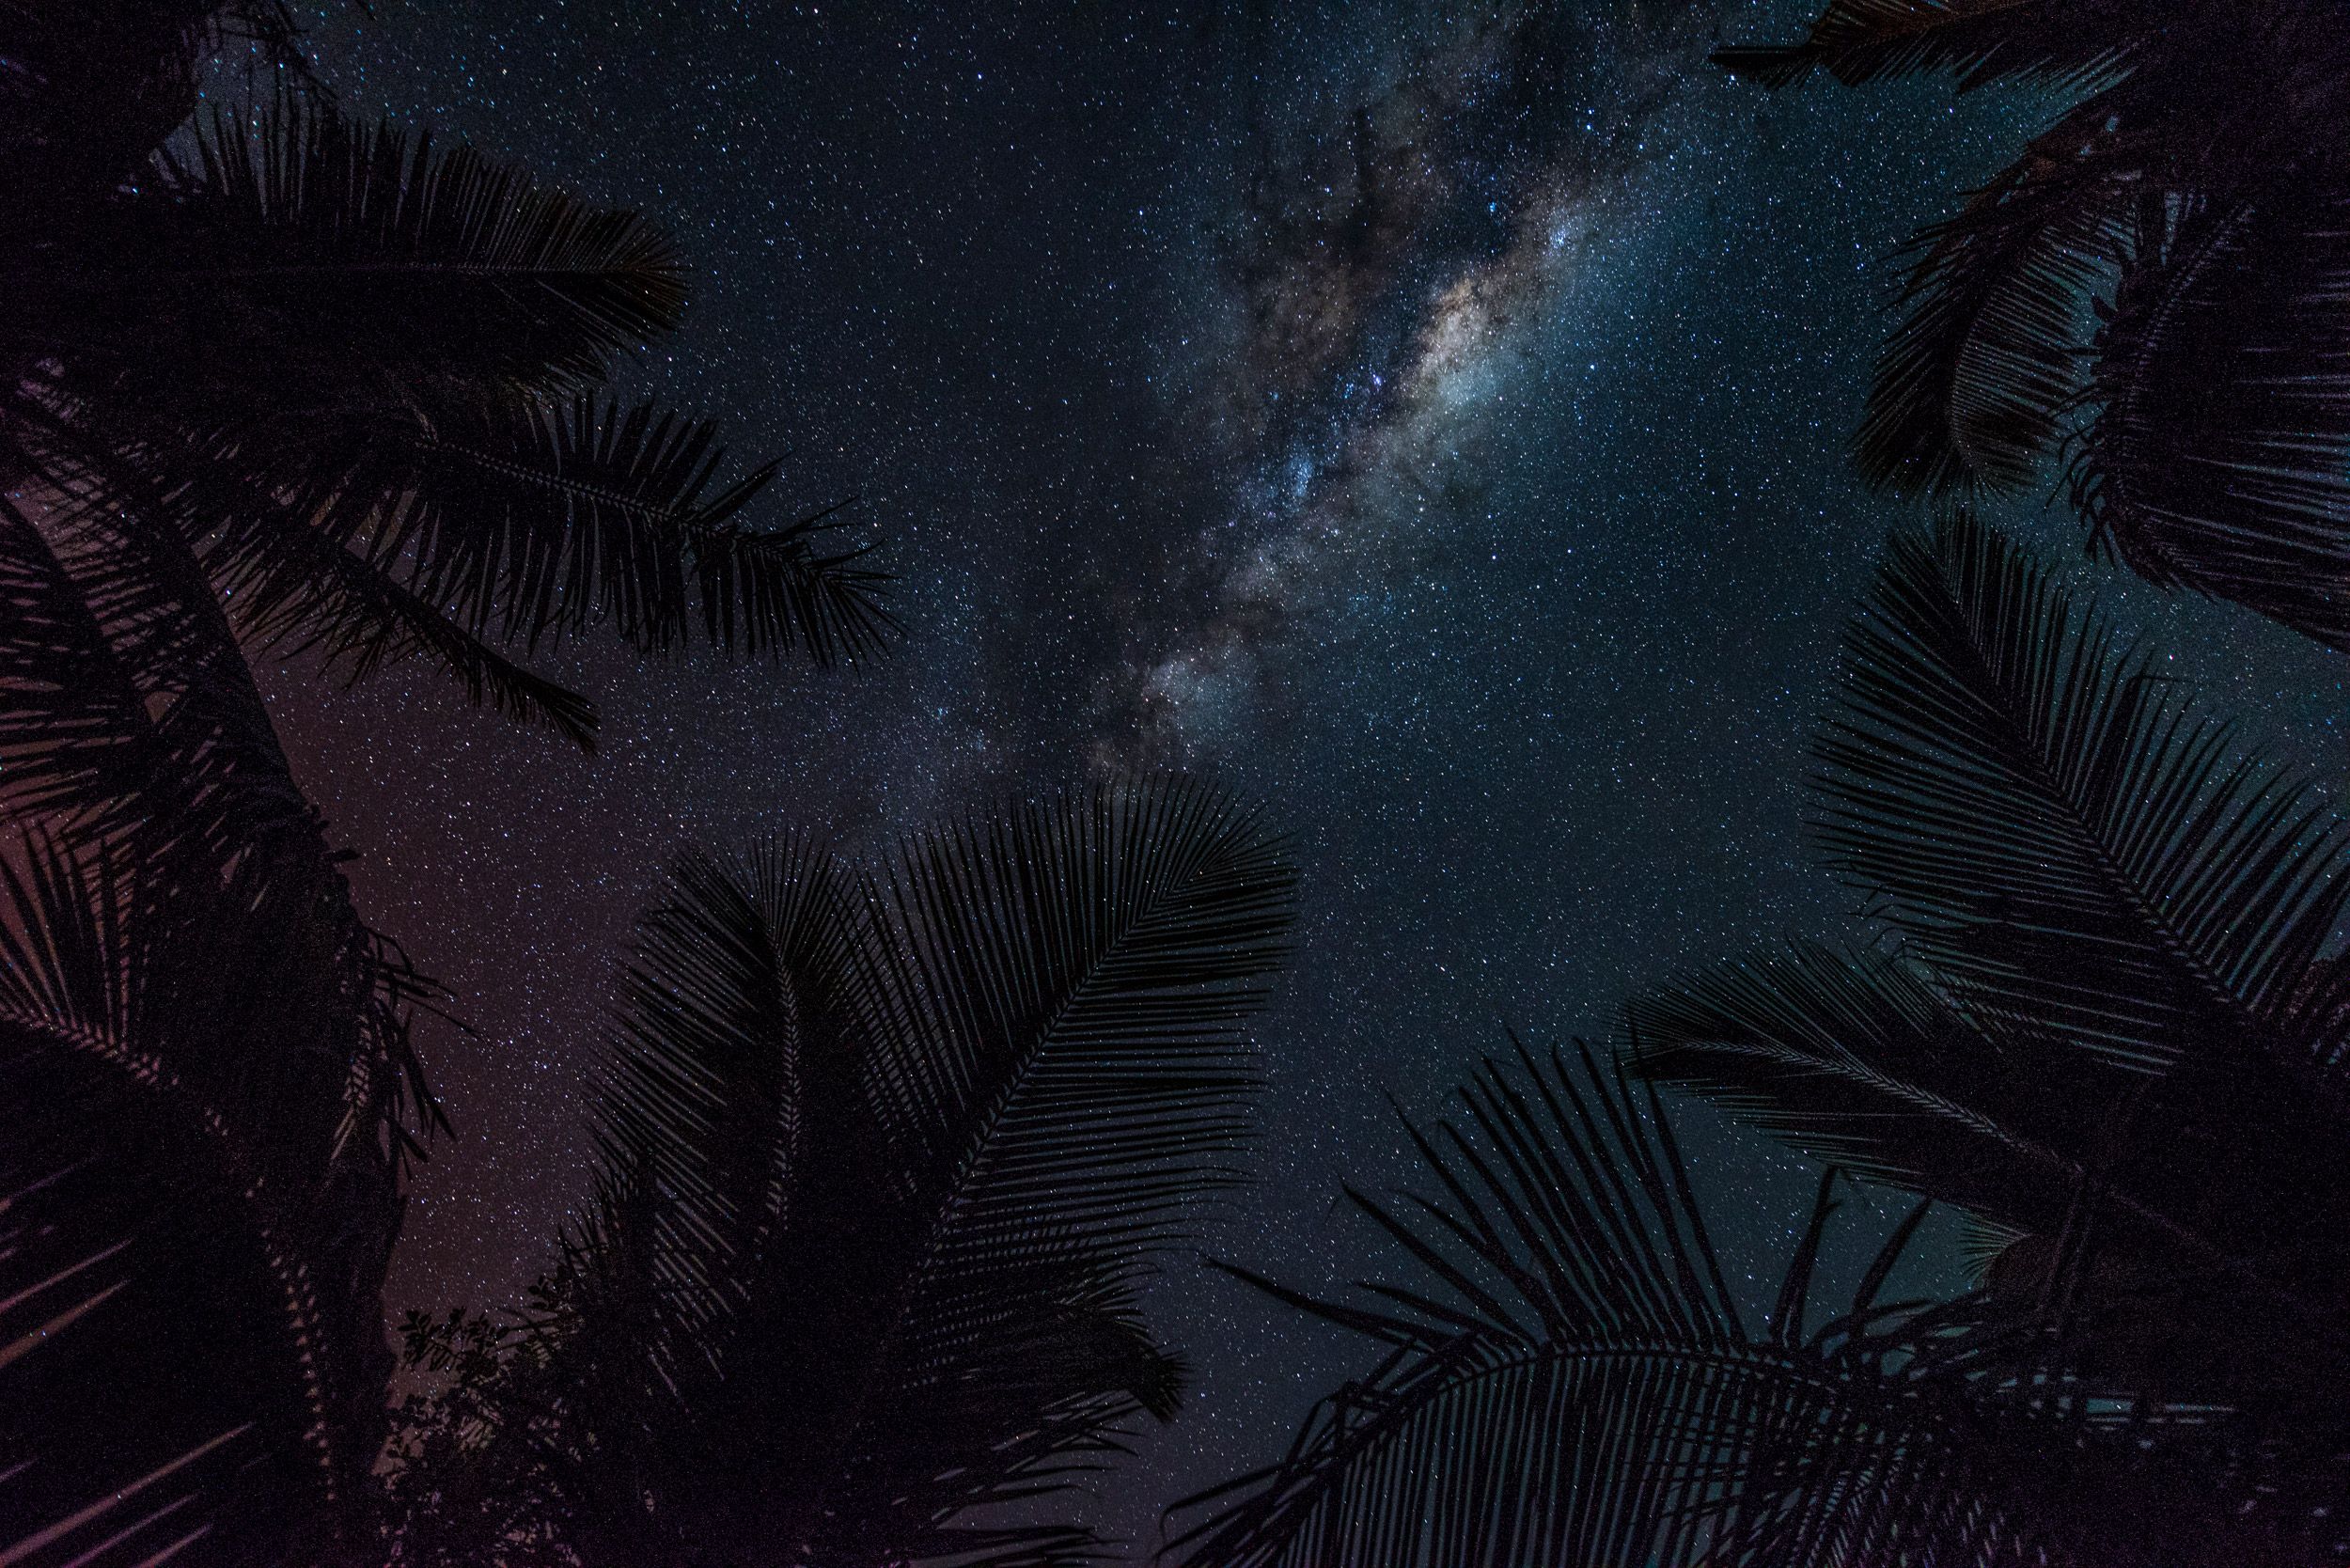
Photographing the night sky successfully isn’t easy. Follow Ryan’s outline below to get a fresh perspective on the process and start getting all those stars to stand out in your pictures. Using these night sky photography tips, Ryan had captured magnificent night skies from one of his recent trips to Fiji, see the amazing shots below.
1. Find a Dark Sky
The most important element of trying to capture this type of image is trying to find light polluted free dark night sky. Normally waiting 2 hours after sunset and up until 2 hours before sunrise is your best bet. Also the first hour of moonrise and the last hour before the moonset will help light up your foreground while still allowing you to capture the Milky Way. If your goal is to just capture the milky way with no foreground or background then NO MOON is the best.
2. Know When and Where to Look
The part of the Milky Way that is most easily visible to the naked eye isn’t visible all year round, especially for those in the Northern Hemisphere where February through September is the optimal times. You will find your celestial subject in the southern half of the sky, rising from the west. Residents in the Southern Hemisphere may have a slight advantage in this regard, as the central parts of the Milky Way can be seen overhead.
3. Use a Digital Camera with Good High ISO Capabilities
This usually means you’ll want to own or rent a full frame camera. I used to shoot with a Canon 7D and my images would never do the Milky Way it’s proper justice. The images would look really noisy and artifact. I converted to Nikon and now shoot with a D810. The swap makes a huge difference. Full frame cameras handle low light better, it doesn’t mean you can’t capture the Milky Way with a crop sensor body. It just means you may need a better piece of glass or do a lot of post work to help make your image stand out.
4. Use a Fast Wide Angle Lens
This is just a general rule. But as I shoot more and more I really enjoy the look of a 50mm lens or even using a 24-70mm lens. Your ideal aperture will be somewhere in between 1.2-3.5 (max) . The lower the aperture the more light you are able to gather without having to bump up your ISO.
5. Use a Tripod
No list of night sky photography tips can be complete without the use of a tripod. When shooting long exposure night sky photography shots you NEED a tripod that is stable and won’t move.
6. Use Live View
This helps. If I’m shooting with a wide angle lens 14-24mm a good rule of thumb is to set the focus a hair off of infinity.
7. Start with ISO 3200
This is just a general rule of thumb as well. I actually found I like the look of 2000-2500 ISO the best but it’s all trial and error and finding what works best for what you’re trying to accomplish.
8. Set a Long Shutter Speed
This is how you will capture more light and create a sufficiently bright exposure. There’s just one problem, though. The planet doesn’t care if you’re new at astrophotography; it’s going to keep on rotating, which means if you leave the shutter open for too long, you’ll end up with star trails. There’s nothing wrong with star trails when that’s what you’re aiming for, but they aren’t really desirable for photographing the Milky Way.
To get pinpoint stars, use the “500 rule,” which calls for you to divide 500 by the focal length of the lens you’re using. So, if you have a 24mm lens on a full-frame camera, you will set your shutter speed to 20 sec. (500/24 = 20.83). If you’re working with a crop sensor camera be sure to account for the crop factor (typically 1.5 for Nikon and Sony, 1.6 for Canon). As an example, using the same 24mm lens on a Nikon crop, you’d end up with an effective focal length of 36mm (24×1.5 = 36). Applying the 500 rule will yield a shutter speed of 13 sec. (500/36 = 13.89).
There are those who debate about whether to use the 500 rule or the similar 600 rule; without delving further into the mathematics of it all, it really is more a matter of visual perception. In short, stick with the 500 rule, especially if you intend to make poster size prints. If, after you’ve gotten more comfortable and done some experimenting, you find the “600 rule” works better for you (should be fine for web images) then definitely go with that.
9. Compose your shot.
This is completely subjective. This is where you get to put your own twist and style into this image. I know a lot of people will do multiple layer exposure composite shots. Maybe because I’m a naturalist aka another fancy word for LAZY… But I enjoy just doing everything in a single exposure. So I will often wait for a moonset or bring a Nikon SB900 flash with me to light up the foreground.
Enjoy these night sky photography tips, now go out and have fun!


Join the Discussion